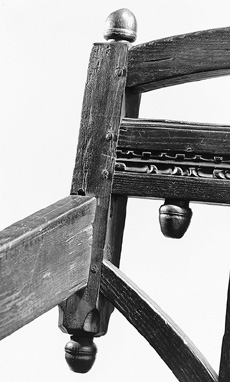
Figure 12
Detail of the back of the joined chair illustrated in fig. 1. (Photo, Gavin Ashworth.)